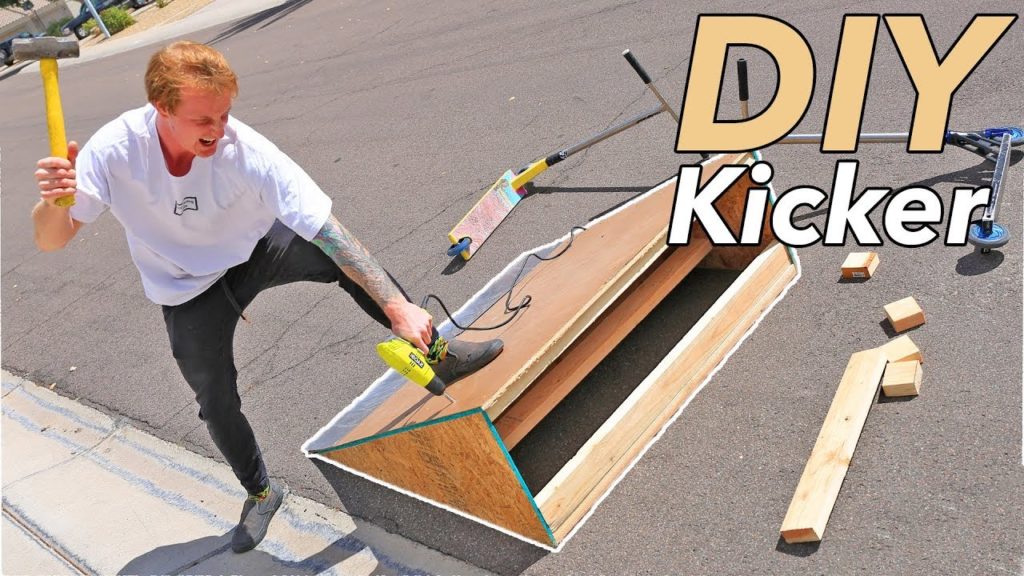
As a skateboarder, going to a skate park is not always going to be an option, so you need to have a ramp nearby that you can always use for tricks. Building your own ramp can be very rewarding, and it can actually be customized to fit your skateboarding needs.
Before you begin making your DIY skateboard ramp, you will need to consider the type of ramp that is best for your space. Consider where your ramp will be used and stored to make sure that it fits in the area that you want it too. how to make a skateboard ramps- see here with pictures.

You also need to consider the type of ramp that you want. Not all tricks require the same type of ramp, so make sure that you design a ramp that fits your skate style.
You don't want something that is designed for an expert if you are a beginner, but you also want to have the ability to use this ramp to grow your skills and learn new tricks. Being too nearsighted can limit your skating later.
A skateboard kicker ramp is a great place to start, especially if you have not done this type of DIY project in the past. It is a relatively easy structure to create that does not require a lot of wood or tools to complete.

- What You'll Need: Wood and Materials
- Two pieces of plywood - 4×8' with a 3/4" thickness
- A piece of masonite – 4×8' with a 1/4" thickness
- 5 2×4s with an eight-inch length
- A one pound box of 1 5/8" screws
- A one pound box of 2 1/2" screws
- A piece of steel - 10 × 4' with a 3/16" thickness
Tools
- A tape measure
- A pencil
- A drill
- 3/16" drill bit
- 3/8" drill bit
- A circular saw
Start with the Sides
The ramp you are designing does not have to use the exact measurements of the wood that is listed above; if you have the space to build a larger ramp, then do so.
Simply make sure to create a blueprint of the larger model before you begin building it so that all of the wood is cut to the correct length. If you are creating the kicker ramp that is being outlined here, then all of the measurements will be here for you to use.
Start by cutting the sides of the ramp. Both sides can be cut from one piece of plywood, and they should measure five feet six inches in length. The back of the ramp should be about a foot and six inches, while the front should only be 1 ½ inches tall. Always measure your wood twice before cutting it to avoid mistakes.
Framing the Ramp
Once the sides are cut, connect them with a frame. With a ramp of this size, the back can be framed with a 2x4, but a larger ramp will need a larger frame.
The front support should be a 2x4 that is angled along the top of the sides so that it adds more support to the surface of the ramp. Then, every eight inches, you want another 2x4 to be positioned along the top of the frame.

In total, the top should have about 10 2x4s connecting the sides. Attach each one with the two-inch side facing up. Make sure to screw each 2x4 in tightly because this will add strength to the ramp, making it more durable.
Add the Plywood
Since we are creating a smaller ramp, you will only need one piece of plywood to cover the entire ramp. When you position it on the frame that you created, make sure that one end of the plywood touches the ground, while the other end goes all the way to the top to cover the entire frame.
To secure the plywood, place the screws about an inch apart on the surface of the plywood. If you are building a larger ramp, two pieces of plywood may be required.

Add a Surface
The masonite that is listed above for this project is designed to cover the plywood and add more durability to the wood. That being said, when you attach the masonite, don't ever place the seams over the seams of the plywood.
When you secure it, start at the top and move down, placing a screw at each stud. If you are having issues finding the suds, marking them with a pencil or a piece of chalk will help.
Attach the Steel
The masonite is not going to reach the ground, so this is where you connect the sheet of metal so that you can smoothly skate onto the ramp. Before you place the screws, drill the holes to make it easier to secure.
Final Thoughts
Learning how to make a skateboard ramp is easy, especially if you follow the steps that are outlined here. Before you begin, make sure that you consider your specific skate style so that you can build the ramp that is best for your needs.
Don't hinder your skateboarding because you think too narrow-minded when it comes to building a ramp. Draw a blueprint, and create a ramp that you will love. If you'd like help building a different type of ramp, leave a comment below.
